How to Avoid Reflection in Glass Photography?
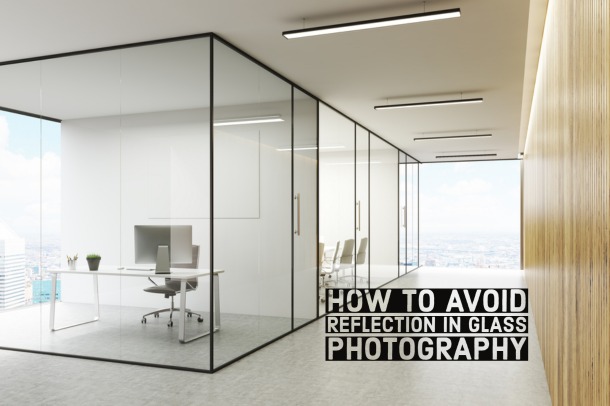

Use these seven methods to avoid reflection in glass photography.
If you want to take a photo through a window or a glass product, you could not find out how to avoid the reflation. Here, I have described the methods that I use in those situations.
What if you particularly wish to shoot glass such as a wineglass or bottles? A search on the internet will give thousands of beautiful photos of glass objects, and the photographer in you will be burning with passion for shooting pictures just like them to test out your skills with your favorite camera.
We love doing photography with our favorite cameras. Unlike the professional photographers out there, many of us are just shooting for fun or a serious hobby.
As we encounter situations where we have to deal with glass and light during our photography, we face a considerable problem – reflection.
It is a common thing that ruins our treasured moments taken by our camera, only to regret later that we could not take the correct measure to avoid reflection or not take the reflection into account during our photography.
If you had physics during your school years, you must have read about light and reflection.
The reflection works on a simple rule:
The angle of incidence = angle of reflection.
The explanation for this is very straightforward. For example, if rays of light are coming from the source toward a 30 degrees angle, it will reflect and bounce off the surface at the same angle – 30 degrees.
Therefore, all you have to do is move away from the path of reflection, and this way, your camera will not catch any runaway reflection.
Usually, when we are shooting with the default flash of our cameras, this situation happens. The flash is then the only source of light. So, to light up the object, we use flash.
So, to avoid this, we need to work with our camera angle and the angle of the light source. We can use a secondary light source and take the default flash off of our cameras.
Therefore, first, we take our flashes off and put the light source far away from the object we want to shoot. There are two kinds of lighting: broad and short. Let us discuss their nature.
Short Light
When your light source is lighting the object from the far side, this type of lighting goes straight into the lens of the camera after being reflected.
Broad Light
Usually, when we light the side of the object closest to the camera, it is called broad lighting. For example, you photograph the object from the right side, and you are lighting from the same side. It becomes broad lighting.
You will be able to prevent reflections if you can control the direction of the lights to you and the glass.
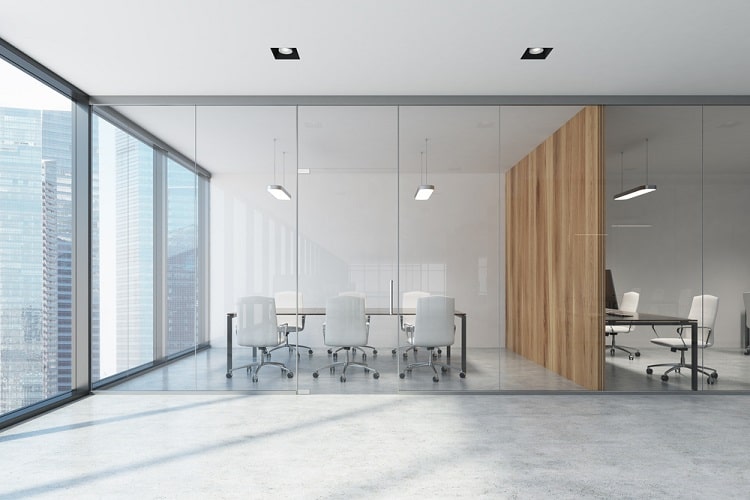
We have to deal with sunglasses or powered glasses when we shoot people, and there are objects made of glass such as wine glasses, bottles, mirrors, etc.
So, we come up with a simple solution – "No glasses, please. Let us take them or have them removed from the scene."
But that is not the solution at all. An empty frame is lonely. Only by populating the frame, we bring beauty to our photo.
So, it is not a normal thing to have them removed. So, without further ado, we will unfold the mysteries and give you some advice on this matter.
Now, look-
Ours is a three-dimensional world, and we can manipulate our light from all sides- right, left, top, or bottom – directly or indirectly. There are so many ways.
So,
We have to pick the right one that works the best for our photo. For example, if we increase the height of our light source, then the reflection will face the floor, and we will be safe from that angle.
This is one application of the rule of basic physics. Now let us talk in-depth more about how to get rid of reflection in depth.
When we work with glass, we have to fight off the evil – reflection. In glass-related photography, we must avoid reflection at all costs.
Hence, here is the catch. When we want to eliminate the shadow of our object, we use the front light. With the exact rule inverse, we use a backlight to combat the reflection.
Because the backlight is helpful, and, If you are unsure how to shoot a particular glass object photography, you should start with a backlight.
When you use the backlight to photograph wine bottles or glasses or perfume bottles, they look fantastic. With a backlight, the contents in the containers will shine.
It is not necessary to always complicate things. Backlight is neither very difficult nor expensive to create. You can put different methods into use. Fancying fancy equipment just for backlight is a wasteful desire. Just use a simple light setup and clever techniques.
If-
Find yourself a large white material – a bed cover or a sheet of huge paper or plastic and use two-speed lights. You will not use direct light but the light that bounces off the white reflective object in the background.
Softbox is a ubiquitous item necessary in photography. If you have one or get access to one, use it to make your life easier. Use a large-sized diffuser in front of the speed lights to reduce the intensity of light.
For more intensity, move the light source near the diffuser and move the light far away from it for softer light intensity. In addition to moving the light closer or farther, you can also add or remove layers to or from the diffuser.
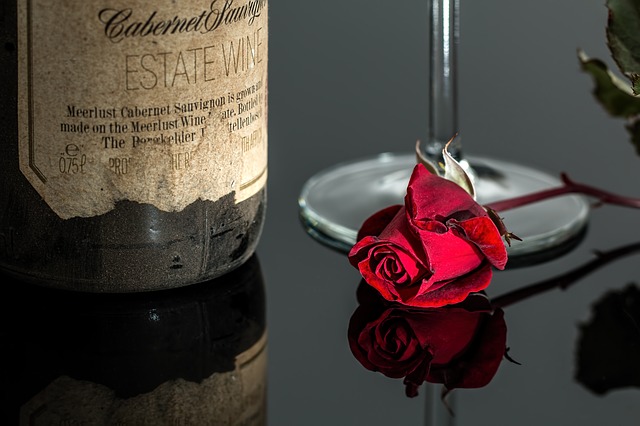
Sometimes we want to have a mirror effect in our photos. For example, placing glassware on a plain sheet of glass will produce a mirror image of the glassware.
In this case, there must be no dust particles on the surface on which the glassware or object of your photograph is sitting. We also want to avoid or exclude the possibility of unintended reflection on the surface.
You can also trick the eyes of others by placing a piece of glassware upside down and then placing another right on top of that one. It will eliminate reflections and help define the edges.
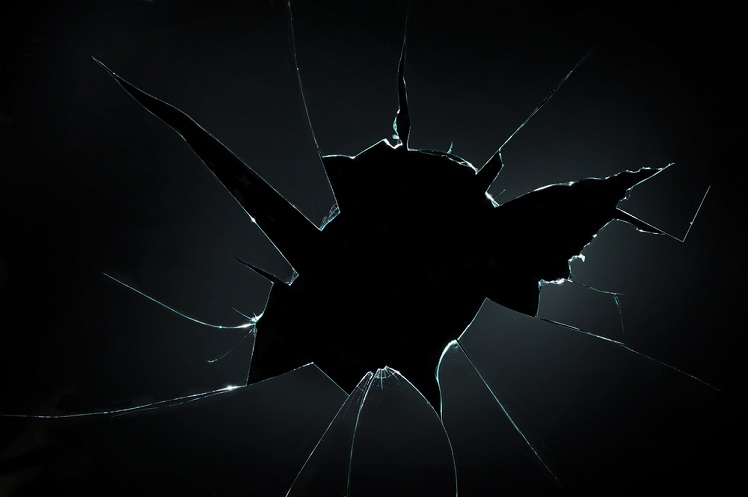
To give your photo a touch of drama, use a black background. Use black background big enough to cover the whole area around the object. The edge of the source of the light should see. It brings out a nice glow around the origin.
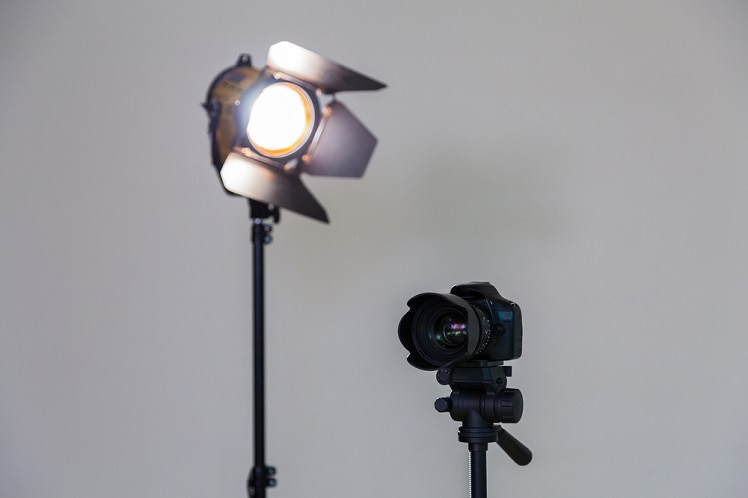
It is possible to add depth to an object which is not transparent. Often you may find that only one light source is not enough. In that case, place one more right by the side of the object. You can use reflectors too.
In product photography or indoor modeling, or real estate photography, you may need to utilize three lights.
Double overhead lighting and side lighting may also come in handy. It will create "hot spots" of light and reflect the surroundings.
Sometimes, you will see your reflection on the object you are trying to photograph. It can be avoided if you use focal lenses and step farther away from the object.
That will eliminate the chances of your reflection on the object.
But you need to bear in mind that this type of focal lens will see less space behind the object, so use a smaller background size.
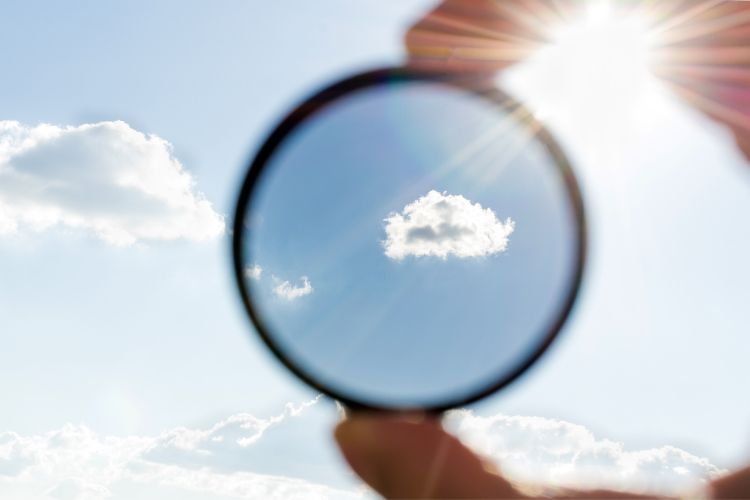
The polarized filter allows light to come from a single direction. In comparison, blocks the light coming from other directions.
Hence you can use an external or software-powered Polarizer Filter. This will be dependent on your camera.
Besides, there are some lens hoods made of rubber that you may find convenient.
Here are some Advance Tips to Take Photos Without Glass Reflection.
You can see foreign objects in your photo. This happens if you do not have a clean lens for your camera. So, clean all the spots, smears, or smudges up before a photo shoot.
You'll have a lot less reflection if you can eliminate or block the light from the inside. Here you can use black paper or cloth to stop the stray light.
This will come in handy while taking photos through a window.
Try the tricks now and see the results for yourself.
However, sometimes it is tough to element all reflections when dealing with multiple layers of glass. And sometimes refection represents the natural look.
Be experimental with the angles. Hence you may find better shots. Besides, photo editing can be a cheap solution