Indoor Natural Light Photography: Get good Lighting

Indoor Natural Light Photography means utilizing the skylight coming through windows, doorways, etc. These are the keys to get good photos indoors. If you are searching for valuable tips on Indoor Natural Light Photography and the ways to improve indoor photography skills, hang on.
Professional or amateur portrait photography is an exciting thing. We often seek delight in capturing what we see with our eyes.
However, mechanical devices cannot recreate what we see through our eyes and the emotion we feel when we gaze upon something we cannot explain in our words.
That's why artists use various lighting techniques, filters, lenses, object positioning, and special effects to recreate what they feel about certain things.
For example, sometimes just color photograph is not out of the ordinary, but when taken in black and white, various patterns that were not distinguishable in color become visible. Just by using the presence and absence of light, you can take amazing photos.
Let us then, without further ado, discuss indoor photography in natural light.
Natural lighting is the light from the sun. There are mainly three types of natural light sources for indoor photography.
Indoor Natural Light Source
It is essential to plan and study ahead of your project. You need to remember that you are going to use your natural light source – the sun.
You have to rely on natural sunlight light that comes through the window, door or sources.
You may think it is very simple because we have only one light source. But remember, depending on which part of the work you live in or wish to work on your project, the nature of sunlight will differ.
Let us take a look.
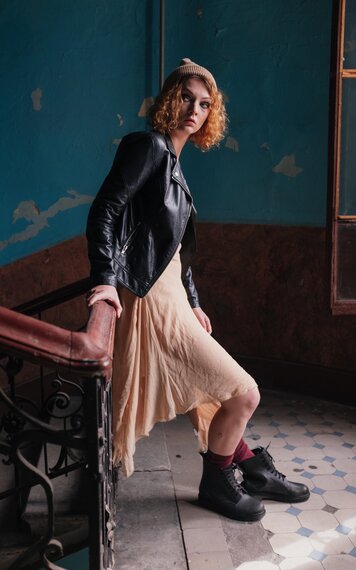
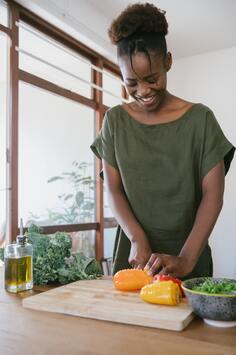
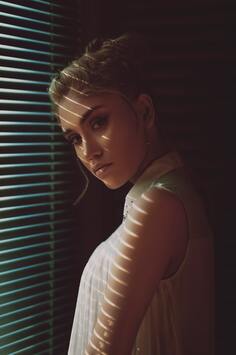
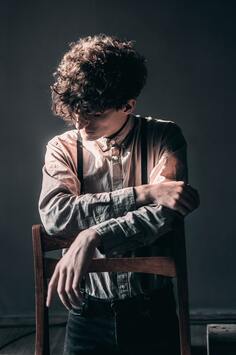
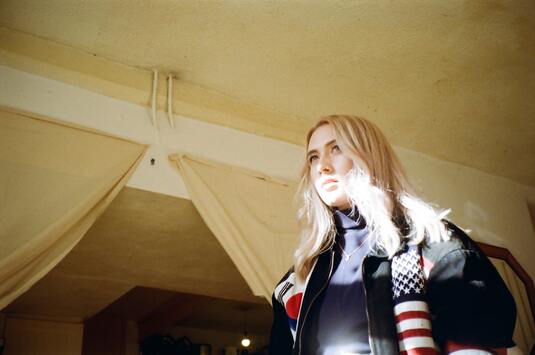
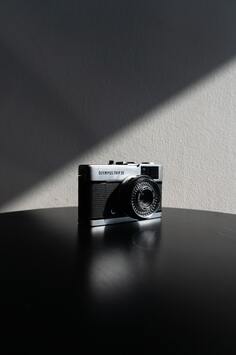

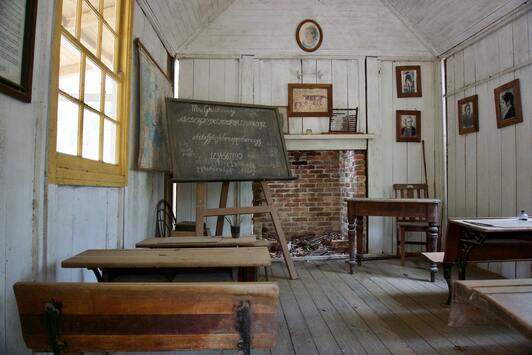
We must admit- there are places in the world where the sun is hot and visible all around the year, such as deserts or areas in the middle east.
There are countries where you will find that the sun appears for a concise time, but it is cold and not strong enough. Depending on the season you are working in, you may or may not find good sunlight at all.
For example, in the USA, we have Yuma. People experience 11 and 13 hours of sunlight during the winter and summer, respectively; Aswan in Egypt sees about 10.6 hours of daylight during the day.
On the other hand, Rjukan in Norway does not see the sun's face for six consecutive months a year.
That is why a photographer needs to study and record the light he wants to shoot. So, let us start from there.
Wherever in the world, you are, for indoor natural light photography, you will have to study the light during the day – the density, brightness, angle, volume of light in the rooms where you want to work on your project.
Look at the room during various hours of the day with naked eyes and also through the viewfinder. Try to grasp the nature of the light within the rooms.
Second, test the light by placing an object at various positions in the rooms and see light and shadow on the object. Record every bit of information. You should also capture a few snaps to compare later on.
Use window blinds semi or half-opened to see how the light comes and affects the object in the room. Try out everything before you start your project.
Decide where you wish to place your models later during the project. For example, you may choose windows for brighter shots, while doors can also be a helpful source of light for you if you want a photo in dimmer light.
Let us talk a bit about the types of light we will encounter. There are mainly two types of light. First, consider the only source of natural light: the sun.
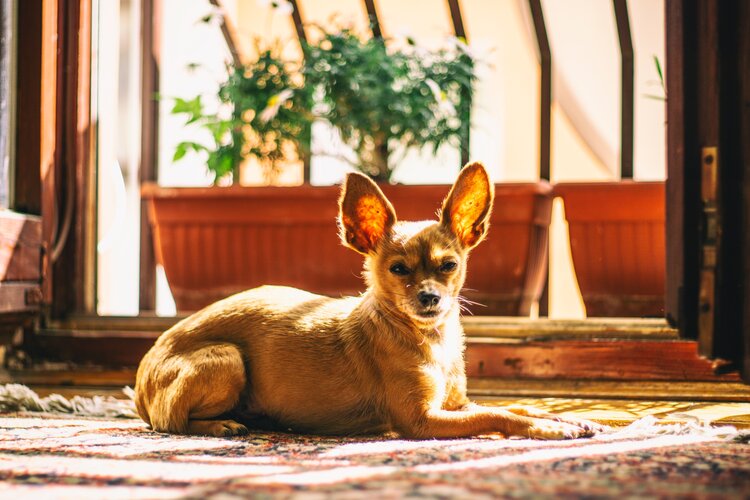
In a room in the daytime, we have windows or doors directly facing the sun, and we definitely can recognize it by its slightly yellowish color. It is very bright and robust.
This one is direct light. To capture photos in this light you have to do something about the strength of light by changing settings. We will talk later about the camera settings.
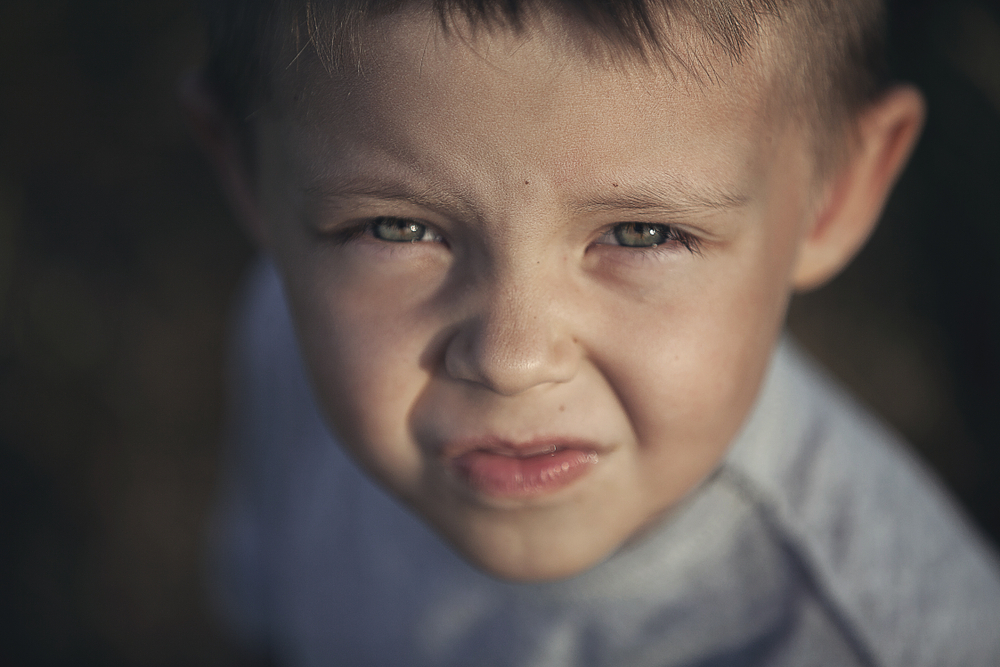
Now consider a room with a window which is not facing the sun. If it is daytime, sunlight will not be coming directly from the source.
It is soft and has a soft glow. It has a kind of whitish color, and it is very smooth. So if you face it with a camera, you may not have to fiddle too much with the settings.
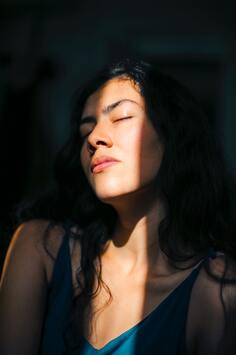
When your model faces the window, the light directly falls on the model's face or front side. Therefore, as you take the shot, you will be facing the model, and your back will be facing the window.
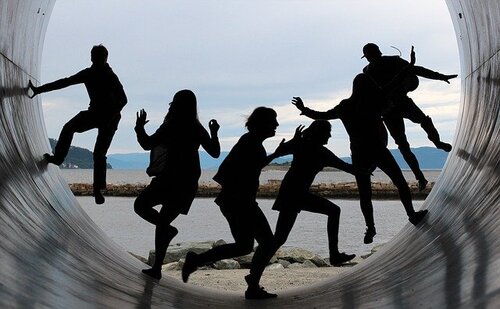
Now, when your model's back is facing the window, you will be facing the front side of the model, and the light will directly be facing your camera lens.
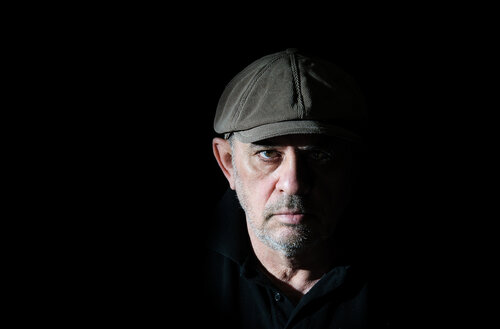
This time one side of your model will be facing the window. This will create a soft shadow on one side of the model. You will always be facing the face of the model.
Utilizing the natural light that you got in your photography set is the key to improve your photos. First, though, It is not hard, but you must gather appropriate knowledge and put effort into practicing.
In every kind of photography, light plays a vast role. However, when you are dealing with natural light photography indoor, there are some factors that you need to control.
The factors that define great indoor photos are-
Sometimes you may need to handle challenging lighting situations. Like- low, reflected, or unwanted directions of light.
Every photo scooting season you're in photography career will have an individual goal. So here I am going to focus on basic things that will keep you ahead of others.
In this part, I am going to explain those secret tips.
The subsequent crucial thing is to adjust the settings of your camera. You need to adjust the camera according to the light during various times of the day.
Keep a record of the settings that you liked the most or want to try out with your models later during the project.
When we are shooting indoors, the first setting we tweak is the camera ISO. The rule of thumb is not to underexpose your image.
When we have images with the underexposed situation, we cannot do anything about it during post-production editing. But if we have the opposite, overexposure, we can reduce the noise from photo editing software in post-production. Try setting your ISO as low as 400.
Take a few snaps and compare. Then, if you need, just go up bit by bit until you are satisfied.
In indoor photography, you will need to work more with the aperture setting of your camera.
You will need to let more light into your camera. If you lower the number on the aperture setting, you will allow more light inside the camera. Therefore, test with various aperture settings.
With a lower aperture number, your camera can grab a shallow depth of field. This helps the camera to focus on the object.
This is good for indoor portrait and product photography.
Always remember to shoot in RAW file format so that you can work on the image more afterward.
Set your camera to manual mode. This means that you have to stop using Auto White Balance. Instead, you will need to adjust the white balance depending on the condition of the lights inside the shooting area.
There are a few preset settings in the camera. For example, to get skin tone better, you can use a Daylight setting. This way, your photo will not look bluish or yellowish.
For warmer colors, you should use Cloudy to add a yellow tone to your color.
If you are shooting indoors, you do not have a situation where your models move rapidly.
Lowering shutter speed will let more light in your camera, while increasing speed will give you less exposure to light.
If you have to work with shutter speed, then use a tripod. It will hold your camera still.
Here are some tips that can help you to manipulate indoor light while taking portrait photography.
Light manipulation is one of the core skills of photographers. But, like other types of photo shooting, you can be creative.
Natural light
When working with direct light, you may need to diffuse the light a bit.
If you do not have indirect light in any other room, you can filter out the strength of the light by hanging curtains of various thickness and color to suit the mood and necessity of your photo.
You can also add light to your model. You can do that by using a reflector. For example, you can use a gold color reflector to add a soft glow to your model. The silver-colored one will increase the light intensity slightly, while a white one will add a clear and white soft light to your model.
Reflectors are a great help when it comes to the efficient use of existing light.
If you want your object to be visible in the photo without any dark shadow on one side, then you have to use reflectors to redirect the sunlight back towards the comparatively less bright side of the model object.
Mirrors are the best reflectors, but you can also use giant whiteboards to reflect light on the model. During any photoshoot, always turn all the artificial light sources off within the shooting area.
We can also subtract light by hanging or placing a big black object near the object model. This will reduce the sharpness of the light and give a significant focus on your model and increase the darkness of the shadow.
But always check your camera settings when you are manipulating light. The settings will act up the moment you change the settings of your light.
Now that we have come this far, we may as well talk a bit about the presence of color or absence of it from your photo. There are two basic types – color photography and the images shot in grayscale or Black and White.
Although we have come so far with our advanced technology, we still shoot in black and white. That means there is a particular reason for that.
If the color photo were always the answer, we would not have this black and white effect or filter to play around with our photos even in this day and age.
Let us look at a few points that will help us decide with type of photo to use.
You are a photographer. You want to take some photos. But you have something in your mind about the emotion, message, or impact your photos will deliver to the audience.
Do you simply want to deliver a picture that every eye can see? Or, do you want to say something through your photo that eyes can never see?
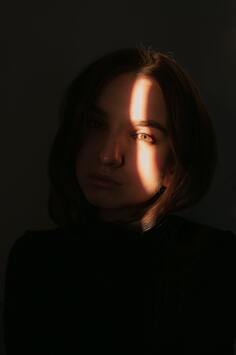
The contrast between light and shadow is an exciting thing to observe. Create an opportunity for yourself to have light coming through a small opening of a window in a very dark room.
There will be a spot where placing an object will give you a partially dark and partially lit photo. Now take a picture with color.
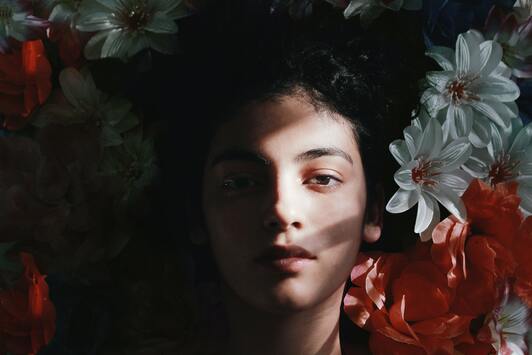
Now, take another photo in black and white – a complete absence of color. How does it feel? You can now see the contrast between light and shadow more clearly.
They pop out in the foreground, and it was not possible in color photos. A deep contrast can convey a lot more emotions to the audience. Color is not always the solution.
In your life, you have felt joy or sadness after looking at a specific photograph.
You have wondered about the 'why.' It is because the photographer could convey the right mood to you.
For example, when you look at your street on a rainy day, or a cloudy sky setting the sad and somber tone, a foggy mountain or a jungle at the feet of a hill – they convey something dark and always shot the best in black and white.
There is no doubt that these kinds of moods can only be set in high contrast back and white photography.
This means only one color can be used. This type of photo also conveys some kind of nostalgic feelings. Shots taken in Sepia tone can be a great example of monochrome.
These images are just uninteresting and in varying shades of a gray color. There is not contrast like the black and white photos.
We must know that all monochromes are not black and white and vice versa.
True black and white will give you a high contrast between the light and shadow, and it is an absolute beauty to look at.
You have to practice a lot to capture the true essence of black and white photography.
Here are some ideas to get the best indoor photos using natural lights.
Depending on how you want to have light around your model, you will have to place your model objects close to or far from the window.
Do not get too close to the window in a way where you get partial light for your model. Then the window frame may cast a dark shadow on your model.
But again, it all depends on how you want your shot to be. If getting too close works for you, then there is no reason for you to hold back. Just go all out and test all positions.
At this stage, you can say very well that curtains and window blinds serve the same purpose. But definitely, they are not the same when it comes to creating special effects with natural light.
With a curtain, you get a very dark shadow inside the room, and light enters through the sliver of an opening. So you get a very different kind of tone and effect there.
On the other hand, window blinds open vertically, and there are many openings through which light enter the room.
You can make light enter at a certain angle into the room, which has another kind of effect. The room is semi-lit, and there is a slight play of light and shadow. Place your models to see which position works for you better.
This is related to the positioning of your model against the light. Three different light will give you three different types of images.
Test all the positions for the best shot.
Every object has textures that can feel by touching them. It is tangible and can only be handled through physical contact. If that is the case, then how do we show it in our picture – a considerable challenge.
We need to create a difference between the smooth and uneven surface of the object model to give the feelings through the lenses. The only way to do that is to shoot the photo in black and white.
A few objects work well in black and white photography – human skin, wood, stone, metals, and plants. Of course, it needs a lot of practice to notice the subtleties and capture the right photo from the right angle. But it is worth a shot.
Make good use of directional lighting or light from one source and from one side to create a high contrast photograph.
Sometimes, it is entertaining to try something out of the ordinary. For example, if you have something reflective, try shooting a photo of it in natural light from various angles. The world of reflection will open its doors for you. Sometimes you may want to hit the reflection of your models on something reflective. See how they work out for you.
How do we take a photo of our model when s/he is facing the window? We can use a mirror to catch the details of the models in natural light.
To capture the face, we need to take a mug shot. But if we want to do that, we have to stand in front of our models, and then the light will be dropping on our backs, and there will be a shadow on the model.
So, our models face the window to get natural light on the face. Then hang a small mirror just by the window.
Now, move around the room to see from which angle you can see the face in the mirror. Then capture with your camera. This way, you can take a portrait photo without any compromise.
Another part of taking a beautiful photo is to clear up all the messy and unattractive things lying about in the room you will shoot your models. Clean and clear the floor.
Using a vast background screen can hide a lot of ugly stuff in the back of the photo. Push and pull objects inside the room to recreate the whole scene suitable for a photo.
It is essential to study the lights based on the time of the day and the photoshoot location. Therefore, you need to rearrange your room and try various camera angles and settings ahead of time for your project.
Decide which type of photo you would like to take – color or not. Then, be sure to plan your project well so that you will be confident during the photo shoot. A confident mind with a set of experienced hands will bring you an excellent result.
Do not forget that you have ways to edit your photos in Photoshop or Lightroom. The success of your project depends on how you execute every single step. Practice a lot before your project, try out every setting and position and decide on the best.
How to Setup Studio for Product Photography
As a Photographer having the perfect product photography setup is a dream of reality. Especially when you find out most of the store owners can't afford a professional photography studio.