Helpful Guide on DIY Product Photography Setup
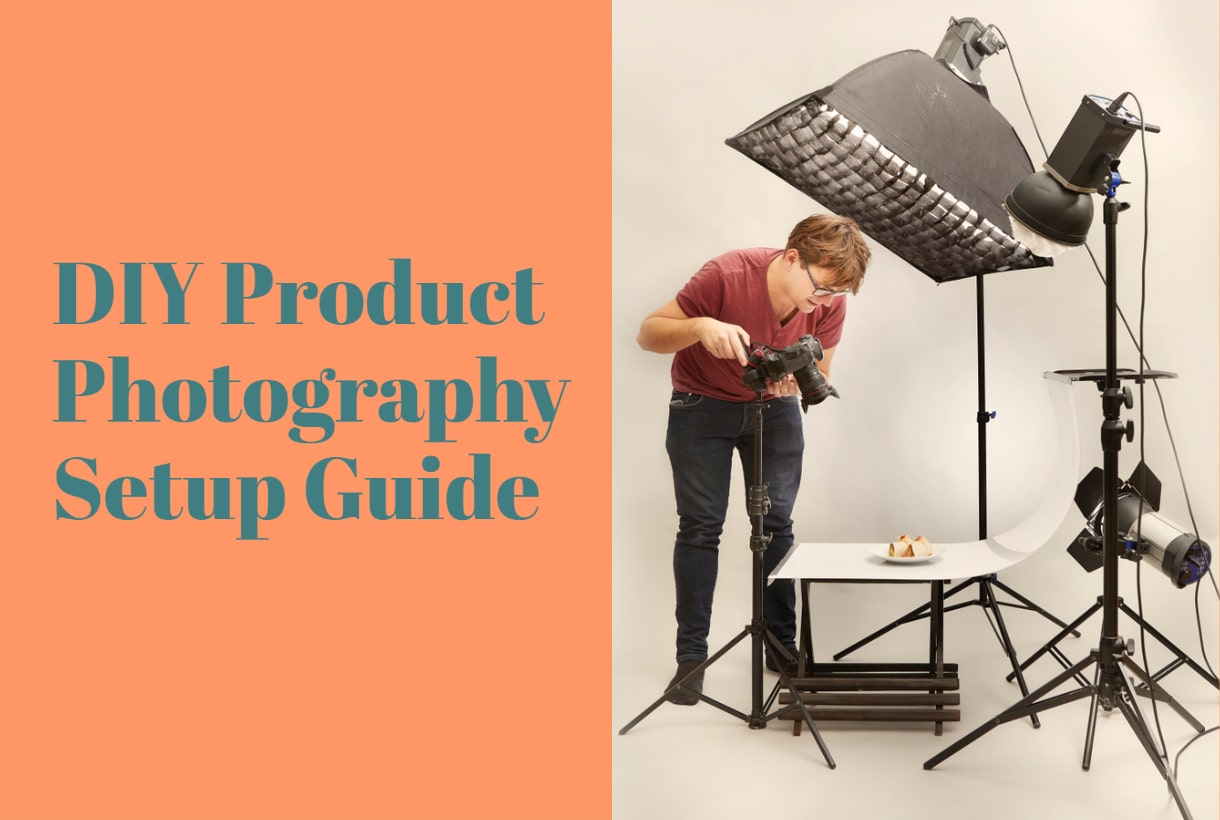

As a Photographer having the perfect DIY product photography setup is a dream of reality. Especially when you find out most of the store owners can't afford a professional photography studio.
Now, the thing is, you can take quality pictures without a setup. Right? But, what's about your creative ideas? You may want to experiment with background, light, props, etc. Isn't having a professional product photography setup is the answer?
If so, let's learn more about DIY product photography setup. In this article, the equipment necessary and how one can set up a product photography studio will be discussed in detail so that you can start your photography career smoothly and faster.
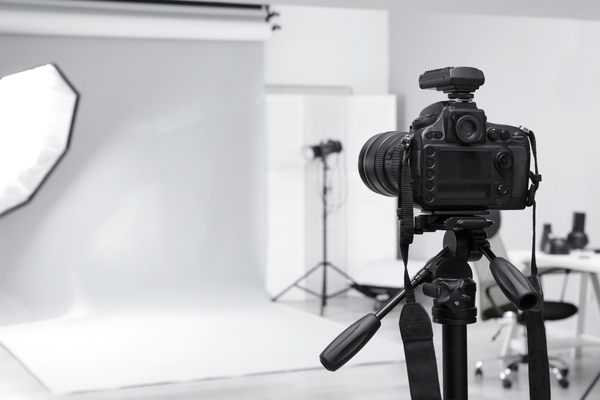
The product photography setup is meant to ease and control the backdrop, lighting, and styling. Moreover, it should be capable of showing your creativity.
When buyers observe a product page, they are looking for evidence of quality and value.
It is very much possible that almost all people who have internet access have visited some online store, Amazon or eBay. On those websites, thousands of products are showcased from thousands of different companies or brands.
However, what attracts the eyes are the clean, crisp, and beautiful products on white backgrounds.
Those images that allure consumers spend their hard-earned money in a blink of an eye are the results of product photography. Therefore, it can say that product photography is one kind of commercial photography to capture the best still images of products to be displayed.
It is often said when to Have thy tools ready. God will find these works.
For product photography, you can always set up an in-house studio. It will cost less than renting a studio for this purpose. I prefer to set up a studio before getting a product photography client.
You can buy all the necessary items mentioned later in the article at a meager price and set the studio up by yourself without any financial pressure.
It is common knowledge to all photographers that the niche that is growing faster than most others is the photography of products.
This is the essential part of all the eCommerce sites and usual offline ventures. Consumers will always want to look at the products of their choice before choosing to order online or go visit the shop with a pocket full of money without seeing a proper picture of the product they want to buy.
Various stalls will show their products online via the internet or the shop owners. This has become a lucrative career choice for many starting or veteran photographers.
This article will now discuss the equipment and devices you will need to set up a product photography studio.
If you are reading this article, then it is very much possible that you are either curious about photography or already know and learning about product photography.
This will mean that you are already acquainted with the devices and equipment necessary to set up a product photography studio.
We will look into a list of common devices and equipment necessary for a product photography studio from this point on.
Now, what equipment you will need for product photo shooting deepens on you. However, here I have listed the essential equipment you need.
Product photos demand details, texture and color accuracy. So,
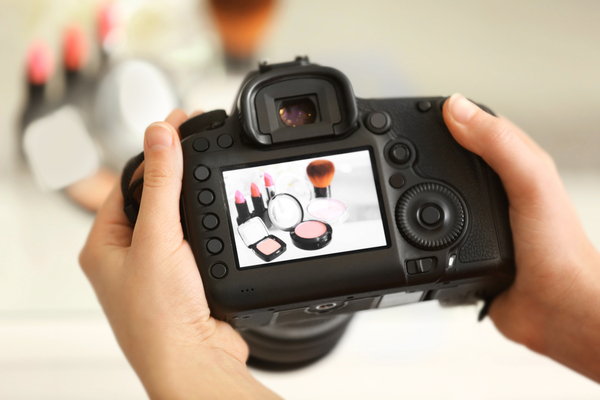
Without the camera, there can never be any photography. Therefore, this is an essential piece of equipment in the photography business. That is why it is vital to select the right one for you and then spend accordingly as there are other things to buy, but one can never go cheap while purchasing a camera for professional work.
The availability of cameras in the market is not a matter of joke. It is imperative that a photographer carefully chooses his camera.
There are many good manufacturers to choose from. Choose the devices that are the best for product photography work. There are so many options to work with. Lenses of all kinds can be mounted on them with ease.
No camera works without good lenses. Cameras are nothing but a piece of the device without its eyes. Lenses are eyes. They bring objects closer so that photographers can take macro shots of products. For every kind of photography, there are at least a few lenses.
One has to choose lenses based on the product size and how much the product needs to be highlighted.
There are many lenses in the market ranging from 'good' to 'better.' Although the image quality will vary in both types of lenses compared, the extra cost for the better lenses seems to be unjustified for product photography.
To take macro shots of products, usually, three categories of lenses are utilized – for more oversized products 12-24mm, for average-sized products 18-200mm. For close-up photos, we need 105mm lenses. Following is a list of lenses recommended for professional product photography studios. You may have to spend a couple of grand to buy good lenses for detailed shots.
To capture the product photo, the camera has to set to a smaller aperture size. This will give the photographer the best depth of field that a camera can capture.
The sharpness of focus is defined by the depth of the field's width. So to achieve that photographer needs the most significant f/stop digit that a camera is capable of producing.
This digit and the speed of the shutter are very close in relation. The bigger the f/stop number lesser the light that enters the camera. To balance out, one has to match that with a slow speed of the shutter, which will expose your photo to light for a more extended time.
This is where a tripod or camera stand comes to play. Although other photos can be taken holding the camera in your hand, photos will be blurry with a slower shutter speed as hands shake with time.
It is not essential to spend too much money on this. Just one tripod which is sturdy enough for your camera will be ok. Brand tripods should be your choice but within a twenty-dollar range. You can look into tripods at Amazon.
Geared heads are significant, but they do not have to be very expensive. These geared heads let you level and angle your cameras for precision and quick shots. Mid-range gear should not cost you more than four hundred dollars.
Light is the lifeline of photography. There can be no photo without it. Hence, the light will change the quality of images you take depending on how well you manage it.
The control of light sets the difference between a novice, sound, and experienced professional photographer.
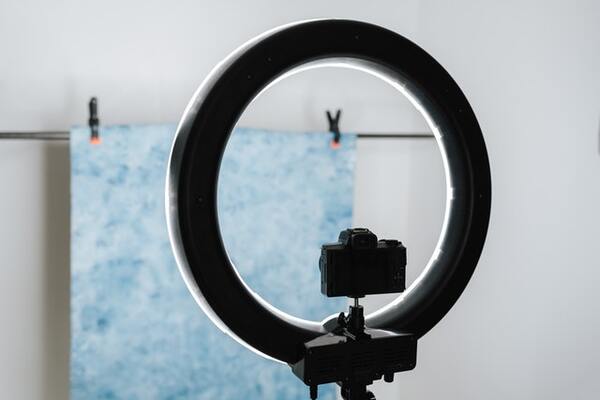
To take sharper pictures with varying depth of shadow, you need various equipment for lighting – flash, lightbox, softbox, umbrella softbox, light tent, luminous fill light, reflector, etc.
To reduce glare and shadow, the light tent will help a lot. Therefore, one needs to buy one that best fits his product range.
Although natural light is suitable for photography, it may not always help your case in product photography.
You need to carefully select what you may need – strobe or continuous lights, number of lights and stands, shadow boxes, etc.
The background is one of the most necessary parts of photography. With a better background, you will take better quality photos, and the product will become visible with all of its colors and features.
With a suitable background, you can better manipulate your image, and your buyers' focus will depend solely on the items you are selling.
For product photography, the recommended color of the background is White. It will separate the product from the background and help your consumers see the product details.
It is essential to have some reflector to balance out the lights coming from a light source.
For example, if you are shooting with a natural light coming from the window, the direction of the light will come from the source, and one side of your product will be well lit while the other side will have a darker shade.
To ensure that nothing like that ever happens, you have to have some reflector or bounce card.
This background can be manipulated in Photoshop after the photoshoot. You can buy a background or make one using white paper or cloth.
You can make one very simple by using cardboard boxes. In product photography, you need lights coming from all sides. If not, then set up some light bounce cards or reflectors to cleverly use the available light source.
But if you think you need shadow, you change the color of the reflector to black. Blackboards will give you darker shadows. If everything is white, including the product and the background, a black bounce board will be necessary.
When product photography is involved, you cannot skip on your table to eventually place your product and background. If you are not using a lightbox, then a table is your only alternative solution.
You can set up your table to have both your backgrounds and products on it.
If the table's surface is not attractive or if you want it to be hidden away from the public eye, then put a white background on it. The table gives your product the steady stability that is necessary for a photoshoot.
Each photography session you have may have different requirements. It varies depending on the product size, color, and presentational needs.
Every product has not complied with Tabletop Photography. As a result, you may find yourself shooting jewelers, clothes on the mannequin, or lifestyle photos.
So, your product photography studio is adaptable for those.
On the other hand, the background and the lighting element should be adjustable.
However, some beginner photographers prefer portable photography light boxes over traditional ones. Though they can be helpful too from my experience, I have found them inconvenient.
In case of shooting product photos for amazon can be done with these types of photography boxes. But you'll find inferior control and different styles of photography.
When you are setting up your product photography studio, it should be rearrangeable for individual requirements.
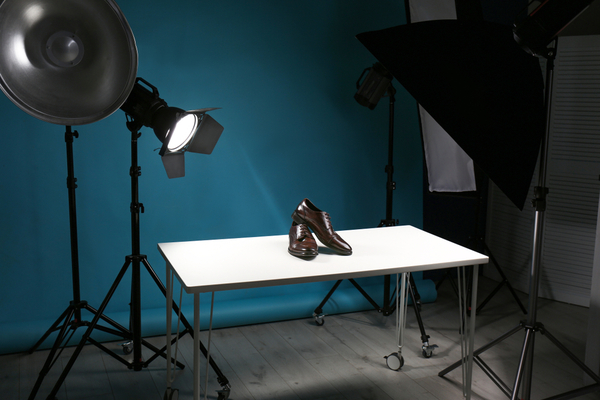
First of all, we need to set the table up as it will be at the center of all activities. The table should be very close to the window but not so tight that the shadow from the windowsill disrupts the natural lighting.
Table position and window will be at a right-angle to each other, could be left or to the right of the window. Light becomes softer as you move your table closer to the window and if it is big enough.
You need to cut off any other light sources inside the room not to disturb the natural light coming to the set.
The angle of the table and the window at each other can be changed to forty-five degrees from ninety degrees. This will undoubtedly change the style of the light.
If you want your photo to be more dramatic, then keep the window behind your table and shoot your camera facing straight to the window. You can also do it within a garage with an open door.
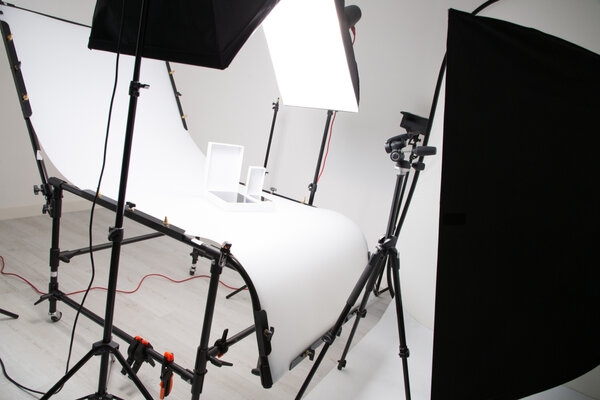
This is the next part after you have placed the table at the position of your convenience. For example, set the table right next to a wall.
Then set your background by taping one part of the background to the wall and then onto the table. The wall part and the part on the table have to be at a right angle to each other.
You should put your product at the center of the table in a way so that you can add reflectors around it.
You can either use a natural, one, two or three light setups in a lighting setup.
Your camera should only focus on the product. If you want, you can set it all to auto mode. But if you are experienced with the camera, you can adjust it in manual mode.
Everything will have to either in auto or in manual mode to work nicely. Usually, DSLR cameras have a RAW mode that takes a lot of space. So always select the best quality of picture mode.
You have to keep in mind the aperture and exposure setting, white balance and ISO setting, etc.
Best control can be achieved over your photo only when you have a manual mode of a camera. This will allow you to test out your camera. You will have to adjust aperture priority, and exposure is an essential setting to photography.
The next step is to take a photo of a product. After shooting, images will be evaluated and retouched in photoshop before going out of the studio.
Pro tips for the beginner: Take multiple shots to experiment with shutter speed, focal length, angle, and props.
It is essential to invest a neat amount of money in product photography to create a brand image and trustworthiness.
A more precise, crisper, and more beautiful image than that of the competitors will give the product manufacturer an edge over the others.
It will tell the boldness of the products and their actual value to the consumers. Hence, investing time, thoughts, and money in product photography will go a long way.
Based on how one represents his products, sales will either jump or die out against a flash flood of products from other competitors.
To sum everything up, it is essential to have a few essential things in your studio if you want to do product photography.
First comes the camera, then comes the lenses, the lighting setup, reflector, camera stand, table, bounce board, and a suitable background. With these items at your hand, you can easily set up your product photography studio.
Want to shoot photos for Amazon?
Learn more about how everything you should know to start your career in amazon product photography.