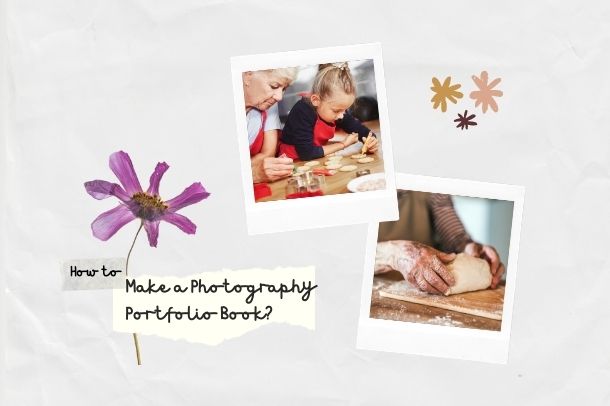
How to Make a Photography Portfolio Book?
By Amy S. Dumas
Originally published February 9, 2021 , updated May 3, 2021
If you are searching for a guide to creating a creative photography portfolio book and print it, here is the complete guide for you.
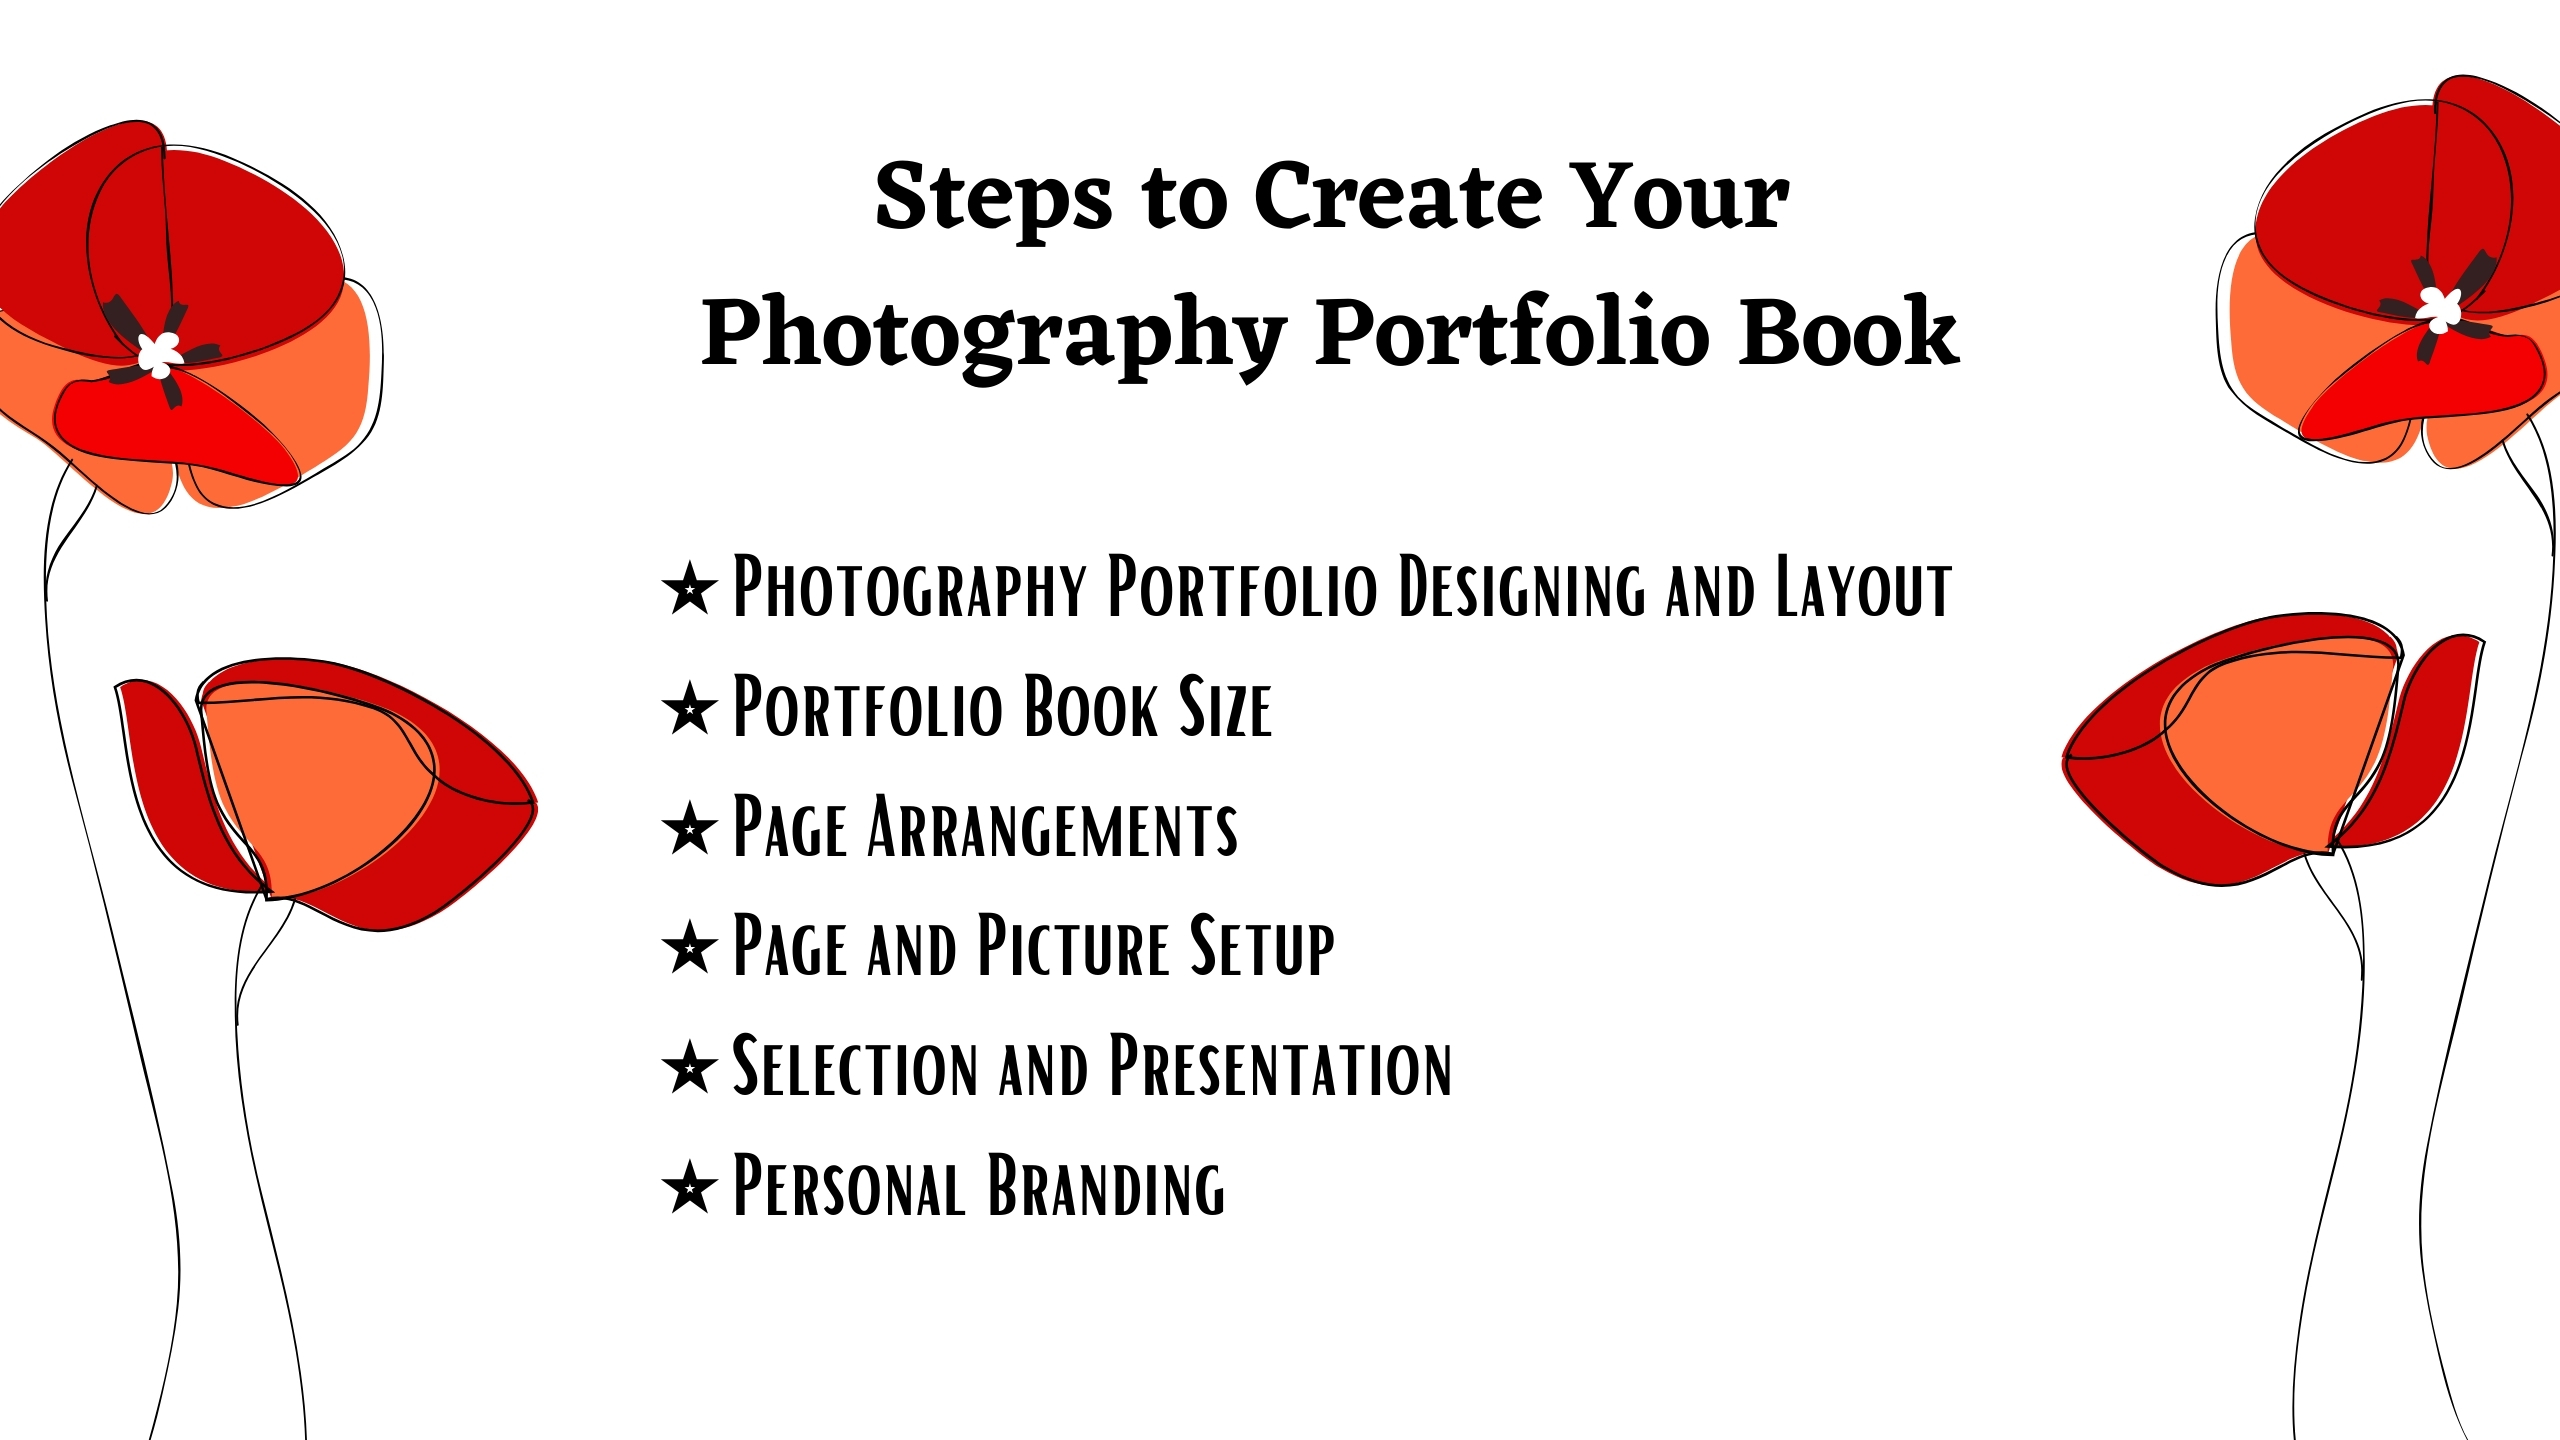
Before we dig deep in to the guide lets learn what we will learn -
If you are a freelancer or a professional looking for a job at a company, your employer may and sometimes definitely will ask to present your portfolio to them.
This word is so very commonly used nowadays, but not everyone really understands it or may not know how to start or where to start.
Let us then first have a look at what it really is and what actually you need to include there.
Usually, portfolios can be presented online or in printed hard copies. The portfolio is a very compilation of your selected and best work done as a professional or student.
In other words, this is an essential element that you should build to boost your photography career.
This has to represent what you believe in, your qualifications, skills, training or education, and experience as a professional. It will also be a representative of your ethics of work and personality.
In the previous century, when I had started my photography career, the online portfolio website was a fairy tale. We used to have printed versions of our photography books those days.
However, the time has changed a lot, today you can have your photography career book as both hard and soft copy (as PDF).
Look,
Printed portfolio books may seem like a relic from the past, it still never fails to deliver a sense of earnestness, professionalism, care, urgency, and passion. When it comes to attention to details, only printed materials can do that.
However, you cannot just avoid making a portfolio book of your work. It ought to include all the best work you have done so far and arranged and presented in a way that the book itself becomes a product that could be sold just for its merits.
If your book is salable, so you are. You will have to present this book to many agencies so that they can help find you, employers. In the world of photography, word will not sell but work will.
You should always save and keep everything you do or create. You can always select what to include from your personal work archive.
As I have said A portfolio is the proof of your work, experience, and skill. You should use your own creative style through your work.
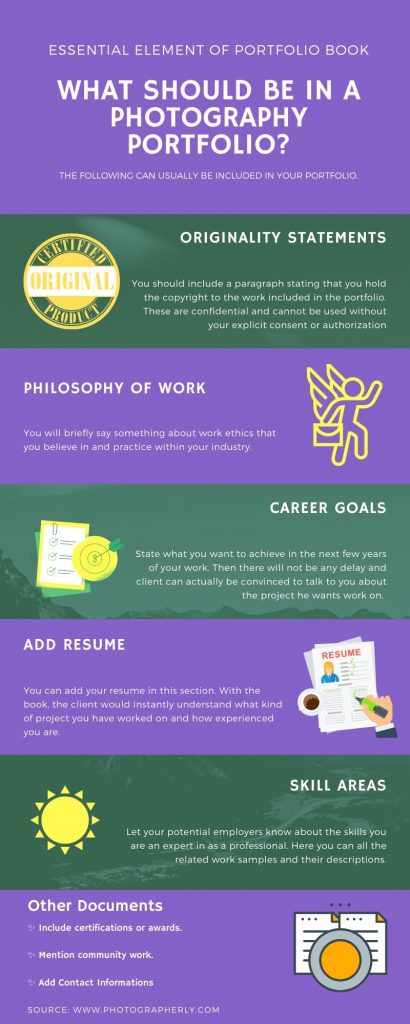
The following can usually be included in your portfolio.
You should include a paragraph stating that you hold the copyright to the work included in the portfolio. These are confidential and cannot be used without your explicit consent or authorization. Here is a sample.
Statement of originality and confidentiality, This portfolio contains the work of Xyz.
You will briefly say something about work ethics that you believe in and practice within your industry.
State what you want to achieve in the next few years of your work. Then there will not be any delay and the client can actually be convinced to talk to you about the project he wants work on.
You may or may not be instantly hired but it sure will give you a fair chance to get more photography clients.
You can add your resume in this section. With the book, the client would instantly understand what kind of project you have worked on and how experienced you are.
Let your potential employers know about the skills you are an expert in as a professional. Here you can all the related work samples and their descriptions.
You have to be very selective and must know why you want to add a work to your portfolio.
If you have a proper answer to ‘why’ then you can add that work to the portfolio.
You need to think about the position you are applying for and have to add work samples that can relate to the duties given to the position.
You can select all of your diplomas or degrees and certifications or awards related to this work and add certified copies of these documents.
You can also mention if you have done any community work. Then you can also mention all the memberships you have related to your profession.
Now that we all have a basic idea of what a portfolio is, we will try to see how to make a portfolio book for a photographer.
As a paid professional, you may have various ways to publish your work online and have online sites to showcase your work and sell them through referrals, blogs, and such.
There are portfolio books of varying price ranges. While there is no limit to how expensive you want it to be, the price usually begins from somewhere a hundred US dollars.
A custom-made book can take up to a thousand US dollars. The most expensive is not always the best in this case.
Let us go over everything starting from tools to materials needed to create a photography portfolio book of your own.
Even books at an economic price range can become one that wins you a job. While choosing the book you have to keep your style of photography in mind. The aesthetics and the design that best match with the photos you wish to include in the portfolio book is the best.
The basic rule is the lesser the number of pages the better. Pages should be easy to turn. You must only put the work that you can proudly show off. Add not only just your work or official projects but also your personal projects.
The personal projects speak deeply talk about your skills, your mind and beliefs, your interest, and your personality.
You need to consider the sizes and arrangements of your photos. The book should not be so small that your client cannot appreciate the glory and beauty of your photos, neither should it be so big that you will have difficulties carrying it around.
In short, always choose the book that fits best with the work you want to show.
Although it is not uncommon to use loose pieces of paper, but this way there is a chance that the client will not be seeing the photos in the order you wanted him to see. He might choose to see photos at random.
⦁ Book size: Usually starts from 8.5x11 inches. But you can go as far as 11x14 inches.
⦁ Layout: The page orientation inside of you book should follow the layout of the photos you are choosing to put inside your portfolio. They can be vertical or horizontal. Buy your book according to the layout of your photos.
There two ways you can put your works together inside a book. One way is to use sleeves. These are like plastic pockets inside a book and you put your photos one after the other inside every sleeve in the book.
The second way is to print your photos on pages and then bind them like a book, but this is a bit more expensive. But usually, my personal choice is to print photos on pages.
Plastic sleeves are subject to various situations in their surroundings. It will attract a lot of unwanted fingerprints. Change in temperature will also have an adverse effect on them.
Most creative directors do not like sleeves. They recommend printing images on pages even if the papers are not expensive.
Always keep in mind that you may want to add or remove pages from your portfolio later. Then you need to choose options that fit your convenience. It has to be flexible, tidy, and neat and updates should be easy to do.
Page number/ Pagination:
You can create your own design frame in the Illustrator app. Put the image inside the frame and put numbers stylishly somewhere visible but not to disturb the beauty of the photo.
There has to be a flow in the order you want your photos to be seen by the clients or interviewers. The changes of theme, subject, motif, color, and tone cannot be abrupt.
For example, you cannot have the bright shining beach right after the photo of a live model in a semi-dark photo. That transition is abrupt and does not set the mood.
Therefore, you need to choose carefully how you arrange your image prints. For example, if you use a heat level from zero to ten, then start from zero and then take one step at a time.
You cannot photos of heat levels zero and three right after each other.
The flow has to be impeccable to have piqued the interest of the interviewers. Just like the drama, create a flow from the bottom, throw in some filler episodes and reach the zenith of tension and then slowly go to a conclusion with a striking photo.
Now,
It does not matter if you visit the interviewer in person or ship or drop it off at his office, never forget to research your interviewer.
Try finding out his interests, past projects, people he worked with and their specialties, etc. Try to find out what his next project could be and then arrange a portfolio based on that information.
Having multiple portfolios based on the topics or themes of your photos will be really helpful. For example, for kitchen, garden, product, live models, etc., try to have separate portfolios.
If you can create a good first impression then it is ok. They will represent you in the future.
Quantity does not matter but quality does. So, send pictures that are precious to you.
You should not be cheap. You should only add a few good photos rather than including mediocre photos.
Distribute your best work throughout your portfolio. Many clients start with the book at a random page.
Try to magnify your style and ideology through your work. Many clients or directors will only hire someone because they liked the artist’s vision and style.
Make sure that your brand is clearly visible on the front and back cover of your portfolio.
You should also leave your business card so that you can be contacted later on. On your printed pages leave a mark that mentions you.
This is the crucial part of your project. You may or may not know that photos do not look the same everywhere.
In your camera display, it may seem accurate in color and depth, it may not be the case during a print or while watching the photos on various other devices and online media.
On the monitor of all the devices, light creates what we see.
But when we are printing the representation will be light to ink. The interpretation of light into ink can be a very delicate task.
So, we need to make sure that our software makes the photos as similar in color and depth as possible. For this, we need to find the ICC profile of the paper we are going to use.
The final prints will be on ink-jet papers and the manufacturer of these papers will provide the ICC profile of these papers. Use Photoshop and Lightroom to properly edit your images before printing.
This is the most common type of book that is being used nowadays. There are screws on the book and you can remove them and then put them back in once you have put all your images in the book. You can choose to use a book that has a plexiglass cover.
In short you need to take the steps according to the expectation of the clients and also never forget to clearly showcase your style and skill in the portfolio book you are making. Leave a strong impression behind.